Planning Your Degree
You are here
Matriculated degree-seeking students are required to meet with their assigned advisor during their first semester to create an academic plan.
The purpose of this required meeting is to:
- Introduce students to their advisor.
- Review academic expectations and degree requirements.
- Explore educational and career goals.
- Build an academic plan that aligns with those goals.
Creating an academic plan early reduces the risk of taking unnecessary courses, helping students save both time and money.
Student Planning
Students can view and adjust their academic plan at any time in myCWI using Student Planning in the Self-Service Toolkit.
- Sign in to myCWI.
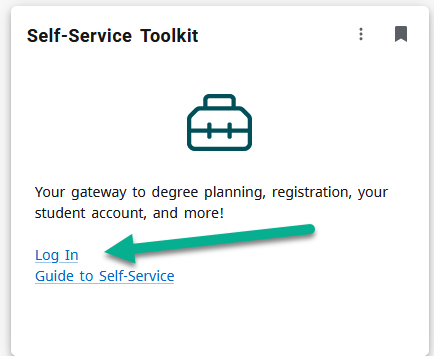
- Navigate to the Self-Service Toolkit card, then log in.

- From the menu, select Student Planning.

- Select Go to My Progress.

- Review the following:
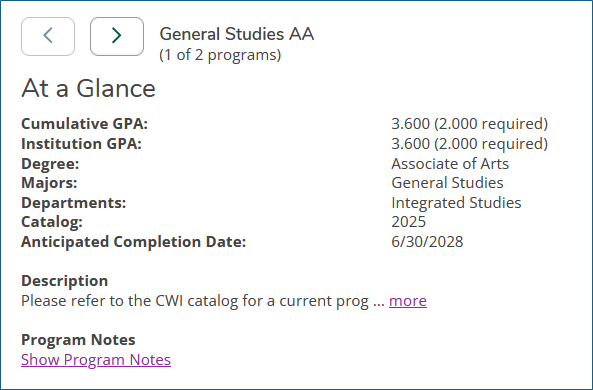
- Your current degree or certificate program.
- Program notes.
- A complete list of required courses.
- Total credits required for your program. Note: the specific course requirements must also be met, not just overall credit.
Each requirement will display one of the following statuses:
- Not Started
- Fully Planned
- Completed
Transfer work, dual credit, or previously completed CWI coursework will automatically populate into the degree tracker.
Current degree or certificate program notes:

Total credits required for the degree with your current completed and in-progress:

Degree requirement status:

- Select a course you want to use to fulfill a requirement.
- Click Add Course to Plan.
- To see when the course is offered, select View Available Sections.
- Click Add Section to Schedule to choose a specific term and section.
![]() Important: Adding a course to your plan does not mean you are registered. You must register during your enrollment period.
Important: Adding a course to your plan does not mean you are registered. You must register during your enrollment period.

