Registering for Classes
Registering for Classes
Students earning a degree or certificate may register for classes through Student Planning.
Prior to registering for classes, be sure to complete your annual Student Financial Agreement.
Once logged in, select Go to Plan and Schedule to get started.
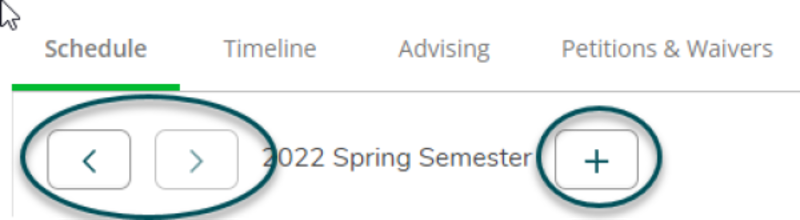
Calendars default to the current semester.
- Use the arrows to go back to view previous semesters or forward to register for future semesters.
- Use the plus button to add a new semester.
- If courses have not been planned for the new semester, use the search bar in the upper right-hand corner of the screen to identify specific courses you would like to take.
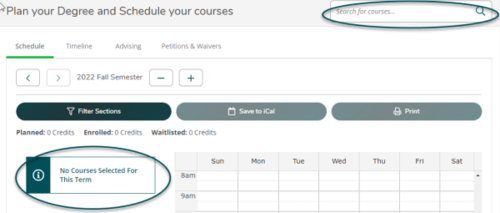
- Enter the subject and course number you want to search for, then click the search button,

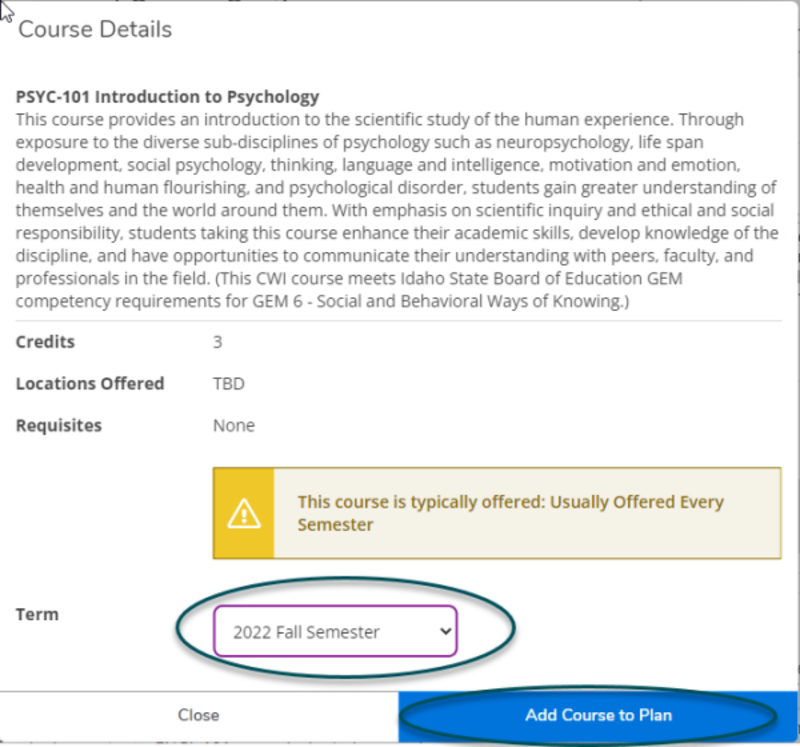
- Once the course appears, select Add Course to Plan.

- A pop up box will appear with course information including pre-requisites, co-requisites, and a course description. Select the semester you would like this course added to, and select Add Course to Plan.
- The course is now listed in your plan. Please note this does not actually register you for the class.
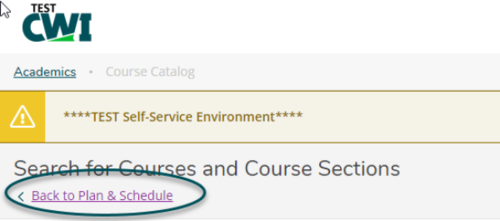
- Select Back to Plan & Schedule on the top right of the page.
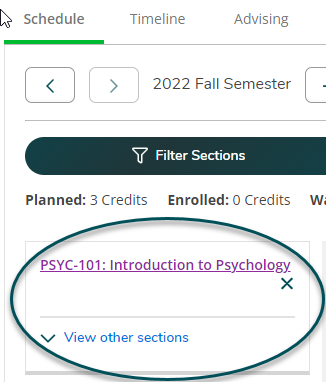
- Confirm the correct semester is showing. If the correct semester is not showing, use the arrows to navigate to the correct semester.

- The course you previously added to your plan should now be populating next to your calendar.
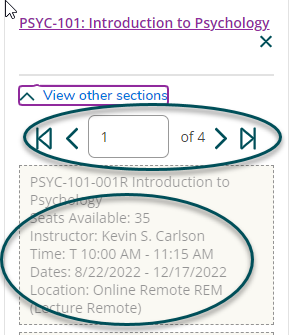
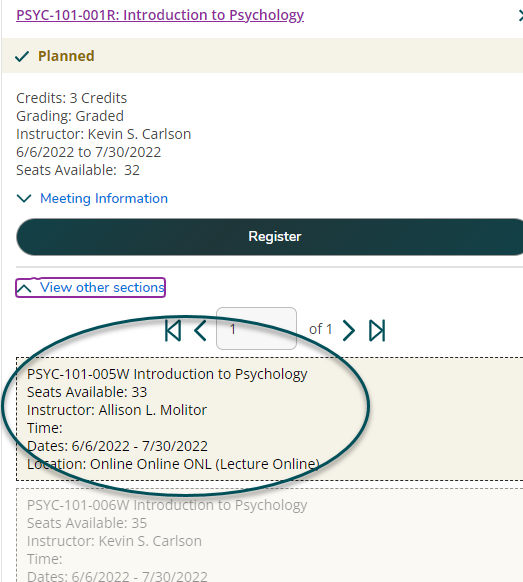
A course section number specifies the date, time, location, as well as the instructor of a course.
- To view available sections of your chosen course, select View other sections. Many courses may have several pages of course sections to view. Use the filters to narrow down the information.
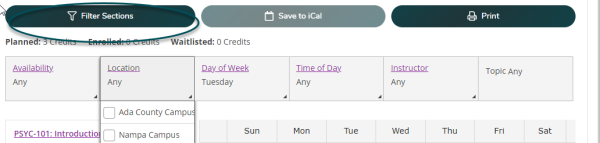
- To filter course information, select Filter Sections.
- Note: Selecting too many filters may severely limit the number of classes displayed.
8-week Classes
Courses are offered in various lengths which you may select when choosing a course section. CWI offers a variety of session lengths, including 8-week sessions, which are marked with the icon below.
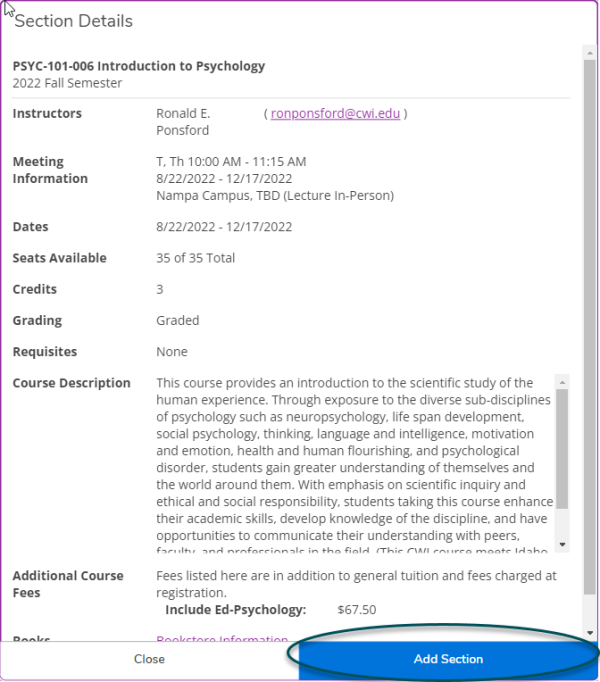
- Once you have selected a course section to fit your schedule, click on the course.
- A pop up box will appear showing the instructor's name and email, course information, and any pre- or co-requisites. Confirm this information, then select Add Section.
- You will see the register now button in anticipation of you adding the course.
- Note: The course is now planned, not registered.
Note: You are NOT registered until this step is complete and your course is GREEN.
- Select the Register button on the left if you are registering for a single course (e.g., PSYC 101).
- Select the Register Now button on the right if your course requires a requisite (e.g., CHEM 101 and CHEM 101L).
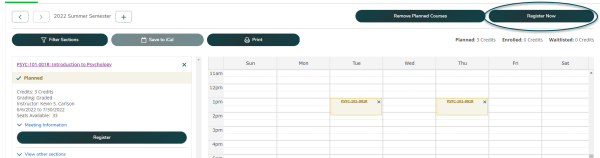
- Classes you are successfully registered for will appear in green.

- You are not registered for any classes that do not appear in green. If your registration did not go through, check for notifications in the drop down menu on the top right of your screen to determine the cause.
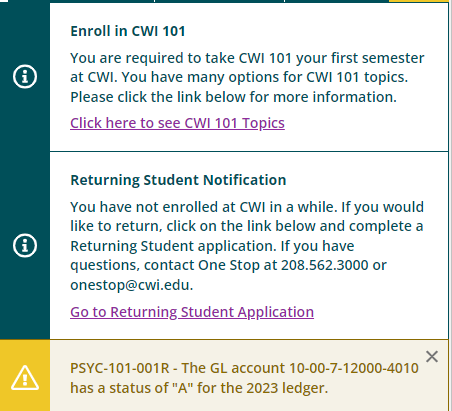
- If the notification drop down menu does not appear, select the yellow box in the top right next to the Help box to view all notifications.
